
First a little bit of background on why you should consider sprouting grains:
I have been reading a lot about sprouting grains lately. I first heard about it years ago in passing and never gave it much thought. I was too preoccupied focusing on improving my diet in other areas such as going mostly organic, and buying local grass-fed and pasture raised meat/chickens blah blah blah.
Is chicken meat? It depends on your accent (The Greeks and Russians of this blog are laughing, I promise)
I finally got around to reading Sally Fallon's Nourishing Traditions, which I have been meaning to get my hands on for about three years now. Here she explains the benefits of sprouting your grains, and reminded me that, yea, I should probably stop ignoring it.
I did some more research so let me explain it to you how I understand it, and I'm no professional, I just like to read about food. And I do have a degree in this stuff. So yea. Kinda legit. Only kinda.
What are grains? Grains are essentially seeds. I'm sure I'm pissing off botanists around the world right now but for simplicities sake we'll go with seeds. And to simplify even more I'm talking grains, nuts, legumes... Are seeds. So what is the purpose of a seed? Well it's to protect the potential plant from the elements, and once the conditions are right for the seed, the seed will begin to sprout into a plant! Now you are smarter than a... second grader?? The way that a seed is able to protect its precious contents and wait for the perfect conditions before it begins to sprout is because it has enzyme inhibitors called phytic acid that hold the nutrients like prisoners until the phytic acid is broken down by an enzyme called phytase and releases the nutrients in the seed... And thus the plant begins to grow.
That's all great but what does it mean for us?! It means that when you eat unsprouted seeds (ahem, grains, yes all that pasta we love), many of the nutrients are not available for digestion because they are still bound by phytic acid! We can't digest phytic acid and the process of cooking doesn't deactivate it. So all those nutrients that they say are in whole grains are mostly unavailable to you; phytic acid doesn't allow you to absorb zinc and iron and to a lesser extent calcium and magnesium. BOOOO! Thus we have to sprout the grains, to deactivate phytic acid, and release the nutrients.
Apparently back in the old days when they harvested grains they would bundle them up and leave them out for a few days before they were ready to mill and do whatever. The moisture from the air and the sun sprouted the grains and they had a nutrient dense food! Ah, old people are so smart.
Also, Weston A. Price (check out his wiki page to see just how awesome he was), toured a bunch of indigenous cultures to see how their diets differed from that of Westerners and what he found (among other things) was that every single one, despite being isolated from one another, prepared their grains properly before consuming them.
That is good enough for me to at least try out these methods! I am still doing more research to completely convince myself (I need to know all the nitty gritty science behind it to make myself happy) but I've been giving it a try for a few months now and it's not so bad!
***
So how do you get rid of this pesky phytic acid you ask??
First, there are three ways to release phytic acid: soaking, sprouting, and fermenting. I have tried soaking and sprouting and will eventually work up to fermenting (such as REAL sourdough bread).
For beginners it's easiest to start with soaking and sprouting, so that's what we're doing!
Sprouting: In sprouting you first soak the seeds overnight in filtered water. You then drain the water, place the seeds in a colander and rinse. Continue to rinse the seeds in the colander every few hours or at least twice a day until they begin to sprout. Some seeds take longer to sprout than others. Once the seeds have begun sprouting this means that the phytic acid has been deactivated and the seed is releasing its nutrients. You don't want to let the sprouts get excessively long because at that point the seed (I guess it's not a seed anymore but actually a plant?) begins to use up more nutrients, and we want those nutrients! So a small sprout is sufficient. Now you can cook the grain like normal and you have a true nutrient dense food!
Soaking: The idea of soaking is the same as in sprouting but less time consuming. You soak the seed overnight in warm filtered water but here you add an acidic medium (such as raw apple cider vinegar, whey, or fresh squeezed lemon juice) in order to activate phytase to break down phytic acid. In the morning (or after at least 7 hours of soaking) you can rinse the seeds and cook them how you like.
What we are going to do is sprout quinoa because quinoa is the easiest one to work with and sprouts the fastest. The down side of sprouting is that it takes several days for the grain to be ready to cook, and most of the time I am just not that great at planning ahead. SO I liked the idea of only planning ahead the night before and soaking the grain but wasn't convinced it would be as effective as actually sprouting. But I tried it anyways, and the quinoa which usually takes about 3 days to sprout actually had little sprouts overnight! I rinsed it a few more times during the day, the sprouts grew in one day and by dinner time I was happy to cook it!
So here goes!
Ingredients:
For sprouting:
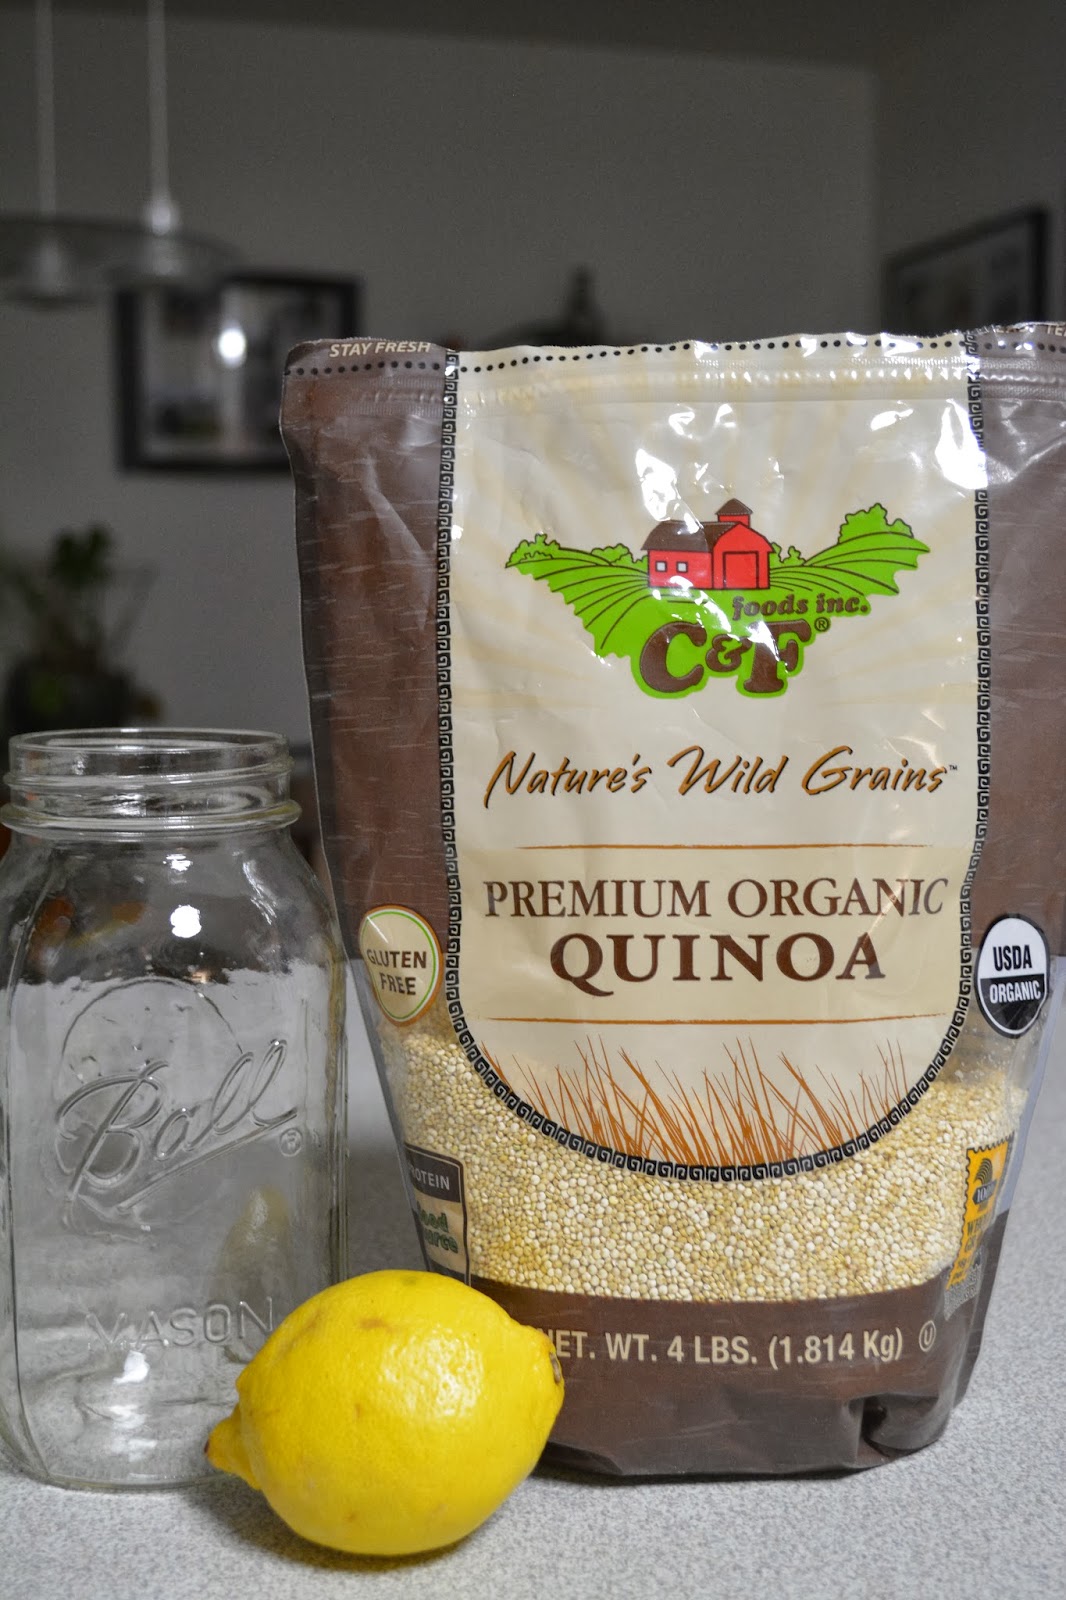
- 1 1/2 cups quinoa. It is pretty important to buy the best grains you can for this, it will give you the best sprouting results. Fresh (local) is best if you can find it. I don't have a local source for quinoa so I get a large bag of organic quinoa from Costco. You also need to make sure that whatever grain you are using is completely raw and unprocessed in any way otherwise it won't sprout.
- Warm filtered water. Filtered is important because the grains will soak up the water and you don't want them soaking up chemicals.
- About 2 tbl. acidic medium. (raw apple cider vinegar, whey, or lemon). I prefer lemons because I tend to have them on hand.
- 1 mason jar
Instructions:
1. pour quinoa into mason jar and add warm filtered water to cover. Make sure you add enough water to keep the grains covered all night because they will expand a bit.
2. Add your acidic medium. In my case I added the juice of half a lemon.

Cover and let sit on your counter overnight! Or at least 7 hours.

Good morning! Look at that bloating! And you can see the quinoa has even started to sprout!
3. Put some sort of mesh lining over a colander in the sink. I actually used reusable cloth diaper linings I bought way back for Hamburger while I was pretending I was going to be THAT crunchy. Needless to say it never happened because I am now using them to drain food instead. Clearly they were never used.
4. Dump the mason jar contents into the colander and rinse with warm water.

And done!
5. You could be done now and ready to cook your quinoa, or if you like and what I usually do, is continue rinsing it a few times throughout the day and prepare it just in time for dinner. The sprouts grow quite quickly and I am happy with it by late afternoon! If you were to do the traditional sprouting method (soak without an acidic medium) it would take about 3 days to get the sprouts.
.jpg)
Look at all those little sprouts!
Now you're ready to cook your healthy nutrient dense quinoa!
Why else is quinoa awesome?? Because it's quick to cook, very nutritious, versatile and my carboholic kid loves it! I know, as crunchy as I try to be, Burger loves carbs when he can get his hands on them. He likes the taste of quinoa because it is very similar to other grainy things and I love it because it has protein and a little bit of fat in it. Plus when I cook it I add all sorts of good things to increase its nutrient content such as broths and other fats. It's a win for everyone. And if you've tried quinoa before and thought it was tasteless, give this recipe a try! Just cooking it in a broth rather than water makes a huge difference! It's on of our favorite foods around here!
Easy Sprouted Quinoa Recipe
Ingredients:
- Sprouted/soaked quinoa
- Vegetable/chicken/beef broth (whatever you have on hand, homemade is best)
- 1 egg
- lard or butter
1. Pour sprouted quinoa into a medium sized dutch oven. Add your broth of choice enough to just cover the quinoa. You don't need much liquid because the sprouted quinoa already picked up a bunch of liquid and won't absorb as much as usual during cooking.

2. Heat on high until you reach a boil then turn heat to low, cover, and simmer for about 30 minutes or until all the liquid is gone.

Ready to eat!
3. You could eat your yummy quinoa now or go a little further and make it even more awesome and nutritious! In a skillet melt butter or lard (YES LARD!! Read here a little about why it's so great or do your own research)

Hamburger loves to cook!
4. Add the quinoa to the skillet and cook until warm.

Look at that concentration!
5. Crack an egg over the quinoa and mix it up until cooked to your liking.


Done! Quinoa with homemade sauerkraut (recipe coming eventually)
Nutritional Powerhouse. BOOM
This post is shared at Fight Back Friday at FoodRenegade.com!
No comments:
Post a Comment